Chapter 8 of 10
The Broken Switch and the Felt-Tip Pen
Using a felt-tip marker to engage the broken Engine Arm circuit breaker (GET 123:20:43)
Told in Eagle’s imagined voice · the events are real · source
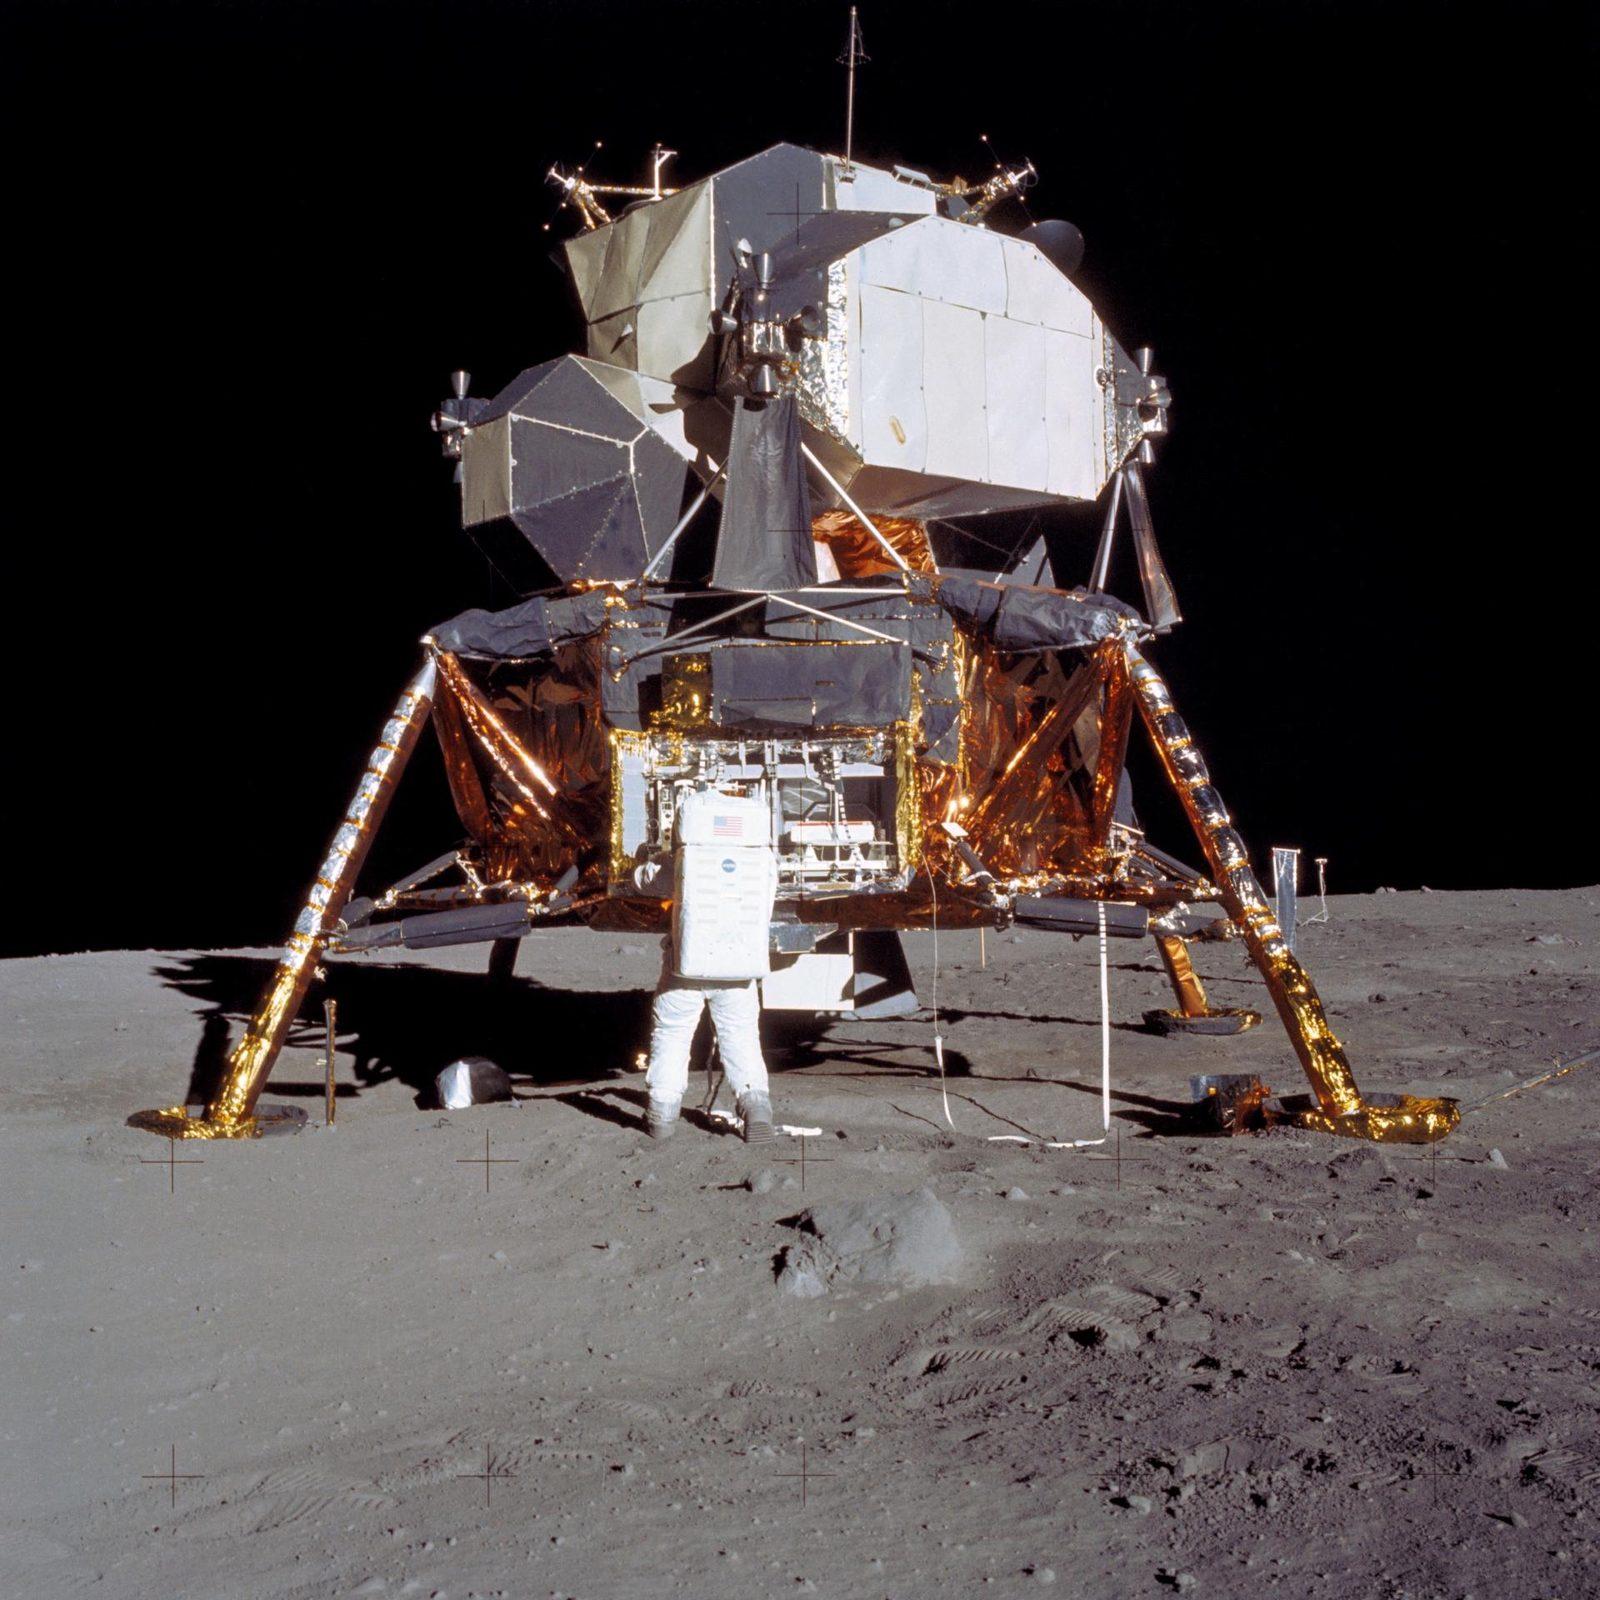
EagleThe moonwalk was over, my hatch was locked, and then Buzz looked down at the dusty floor—and spotted a tiny black plastic knob.
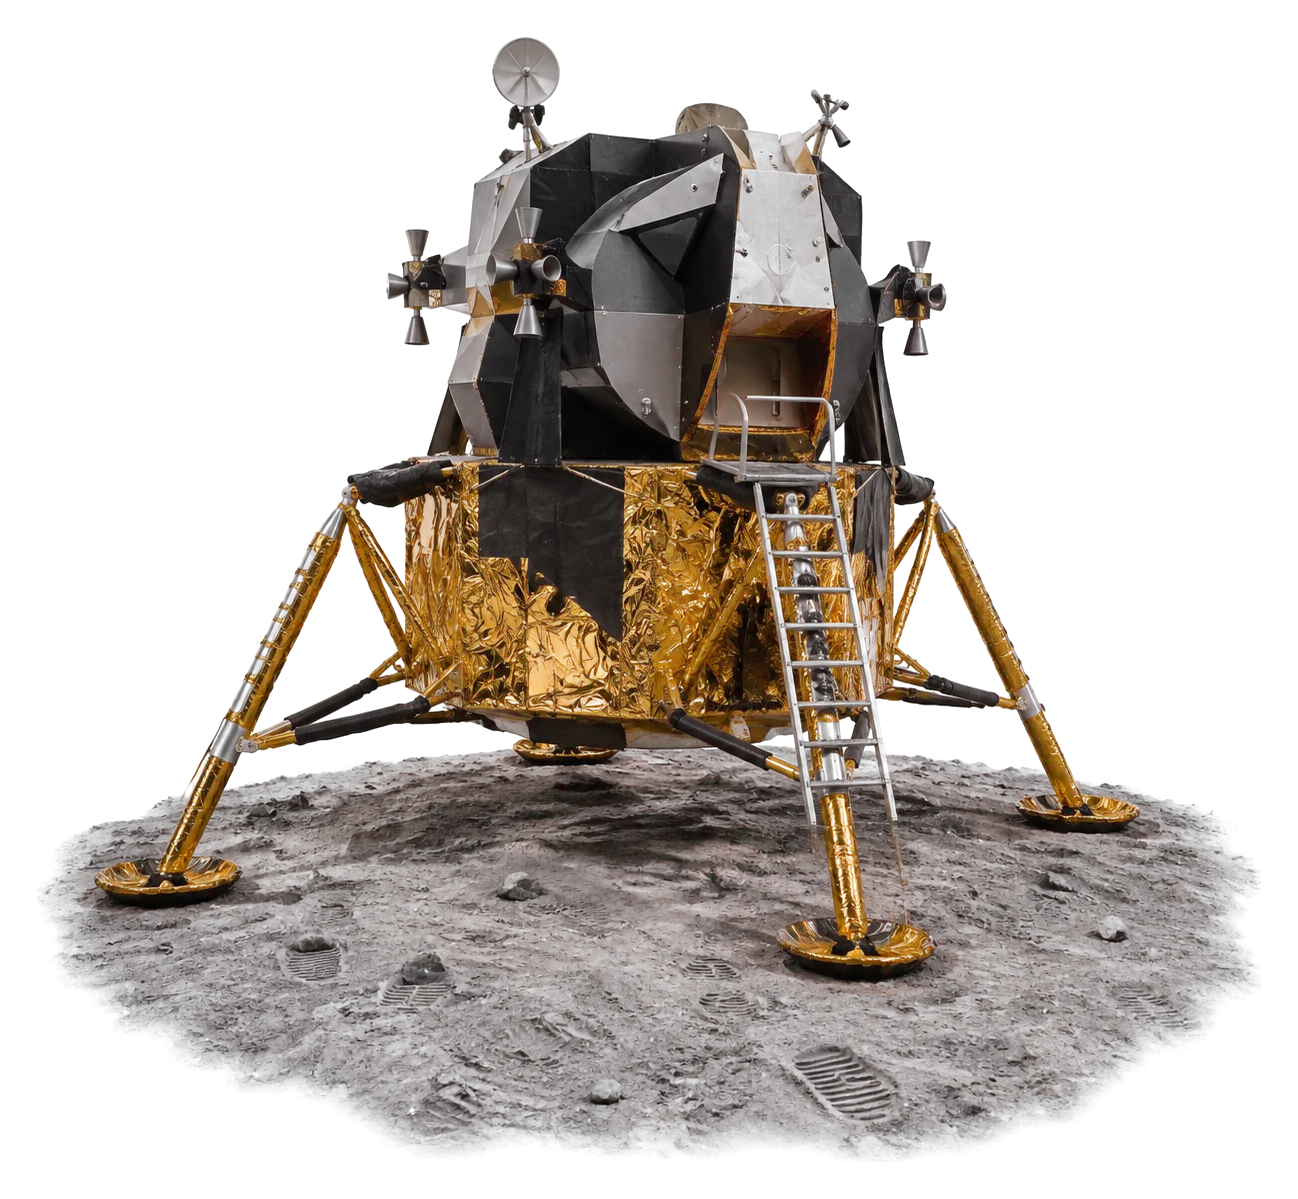
Of all the hundreds of switches on my walls, that broken one was the 'Engine Arm' circuit breaker—the master switch that unlocks my liftoff rocket.

EaglePoking a metal tool into the hole was too dangerous—a single spark inside my pure-oxygen cabin could short out the power or start a fire.
Two hours before liftoff, Buzz pressed the plastic tail of his felt-tip pen straight into the broken slot—and the breaker clicked solidly into place.
The big idea
When a backpack snapped the plastic knob off the Engine Arm circuit breaker, Buzz Aldrin used the non-conductive plastic end of a felt-tip pen to push the recessed switch in without causing an electrical short.
Think about it
Why was it critical that Buzz used a plastic pen rather than a metal screwdriver or pocketknife to push the broken circuit breaker in?
In this chapter: Panel 16 Engine Arm circuit breaker and a plastic Duro felt-tip marker
Sources: Main record
Machine illustration: AI-made. Photos: NASA Image and Video Library, credited on each picture.