Chapter 4 of 8

The seatbelt passenger

Sample 15016's reported collection during the first traverse's return

Told in Apollo 15 Rover’s imagined voice · the events are real · source
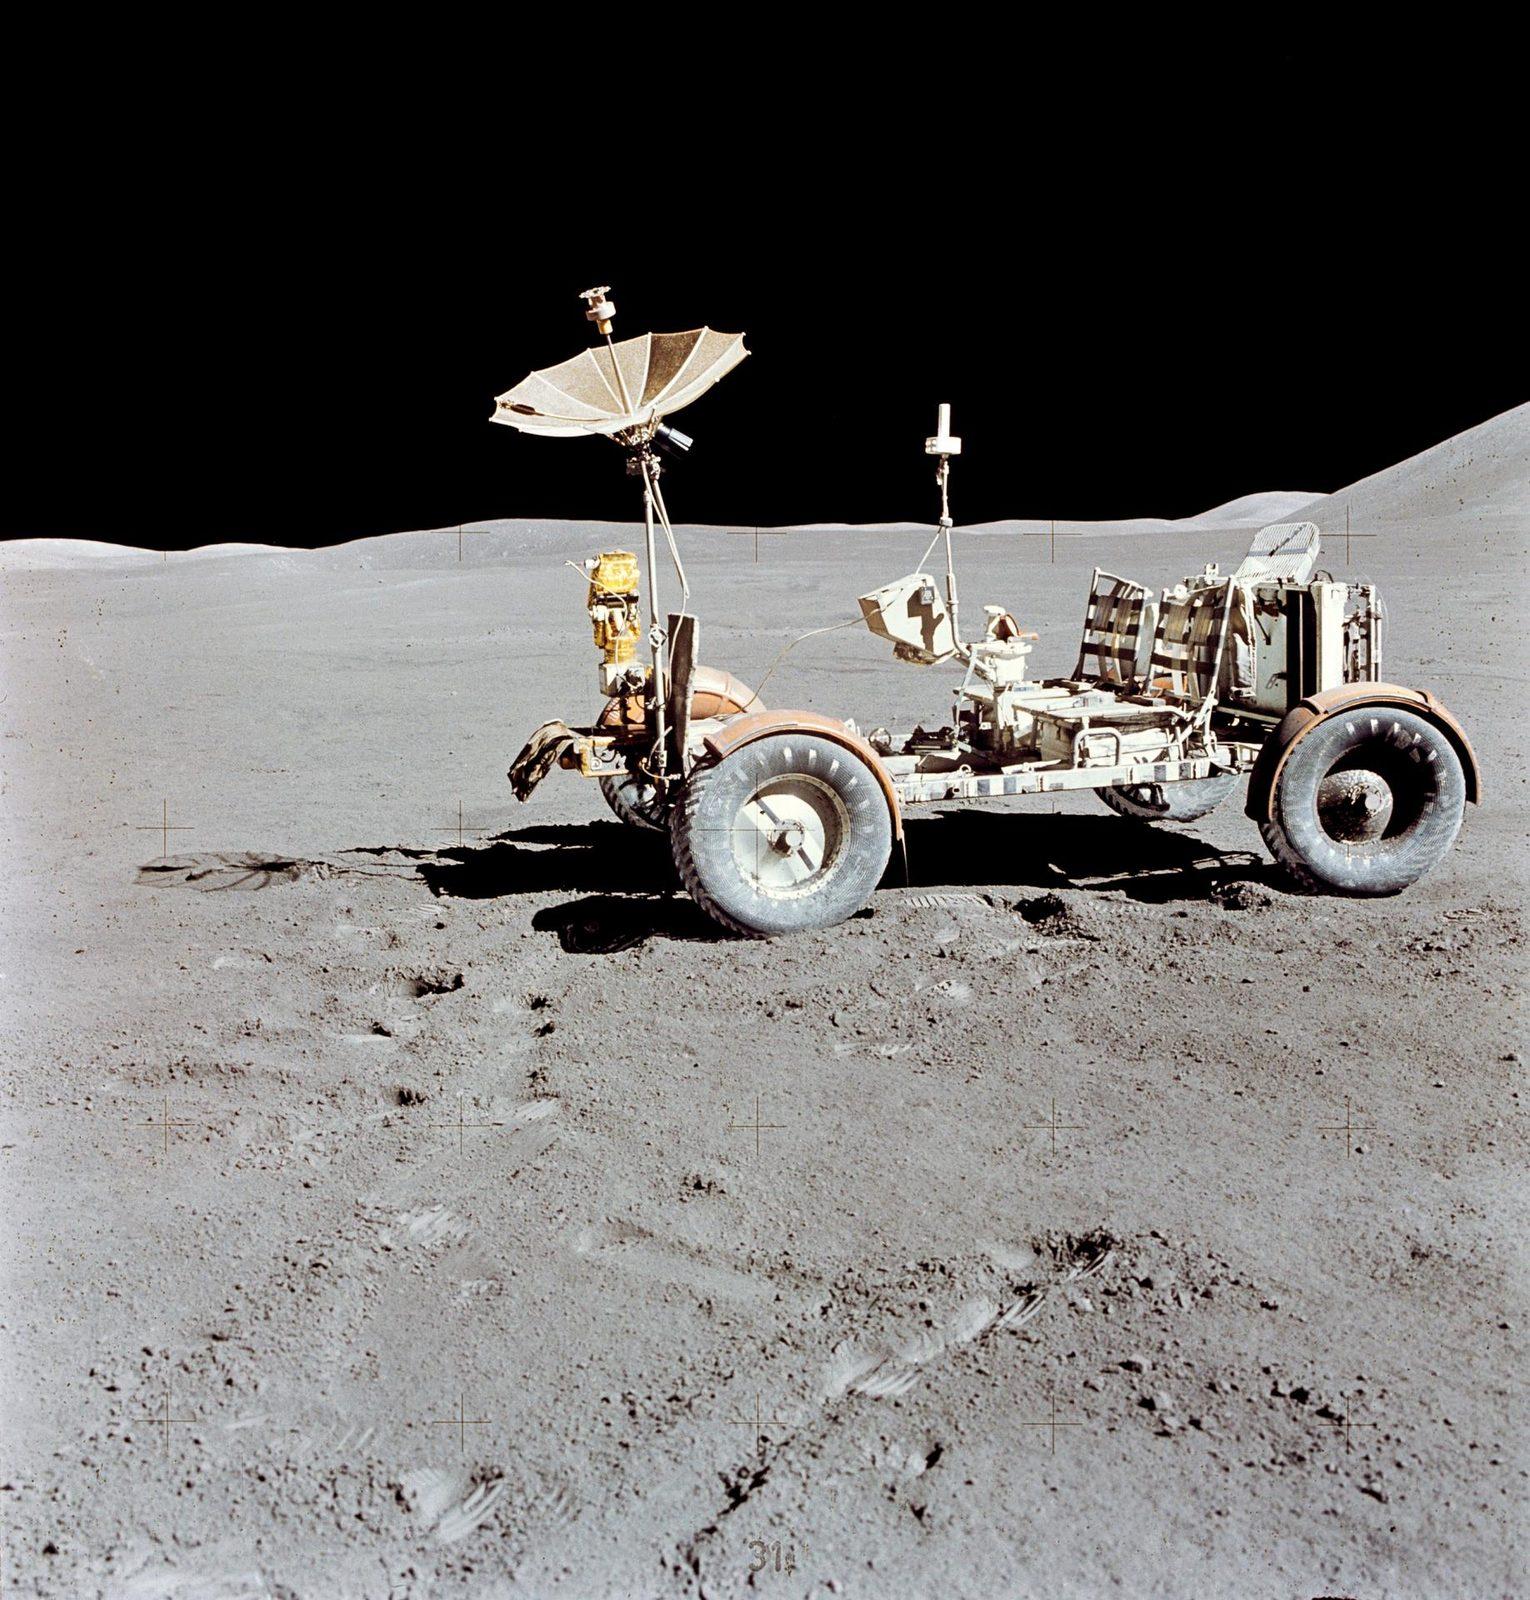
AS15-88-11901 (31 July-2 Aug.
Apollo 15 RoverA seatbelt stop brought an unexpected passenger: a Moon rock.
NASA/JSC
01NASA's sample curators recount that Scott spotted a rock while the crew was hurrying back toward Falcon. He reported a stop to adjust his seatbelt and collected the rock. This is an attributed historical account—not invented rover dialogue.
No field photograph recorded the stop.
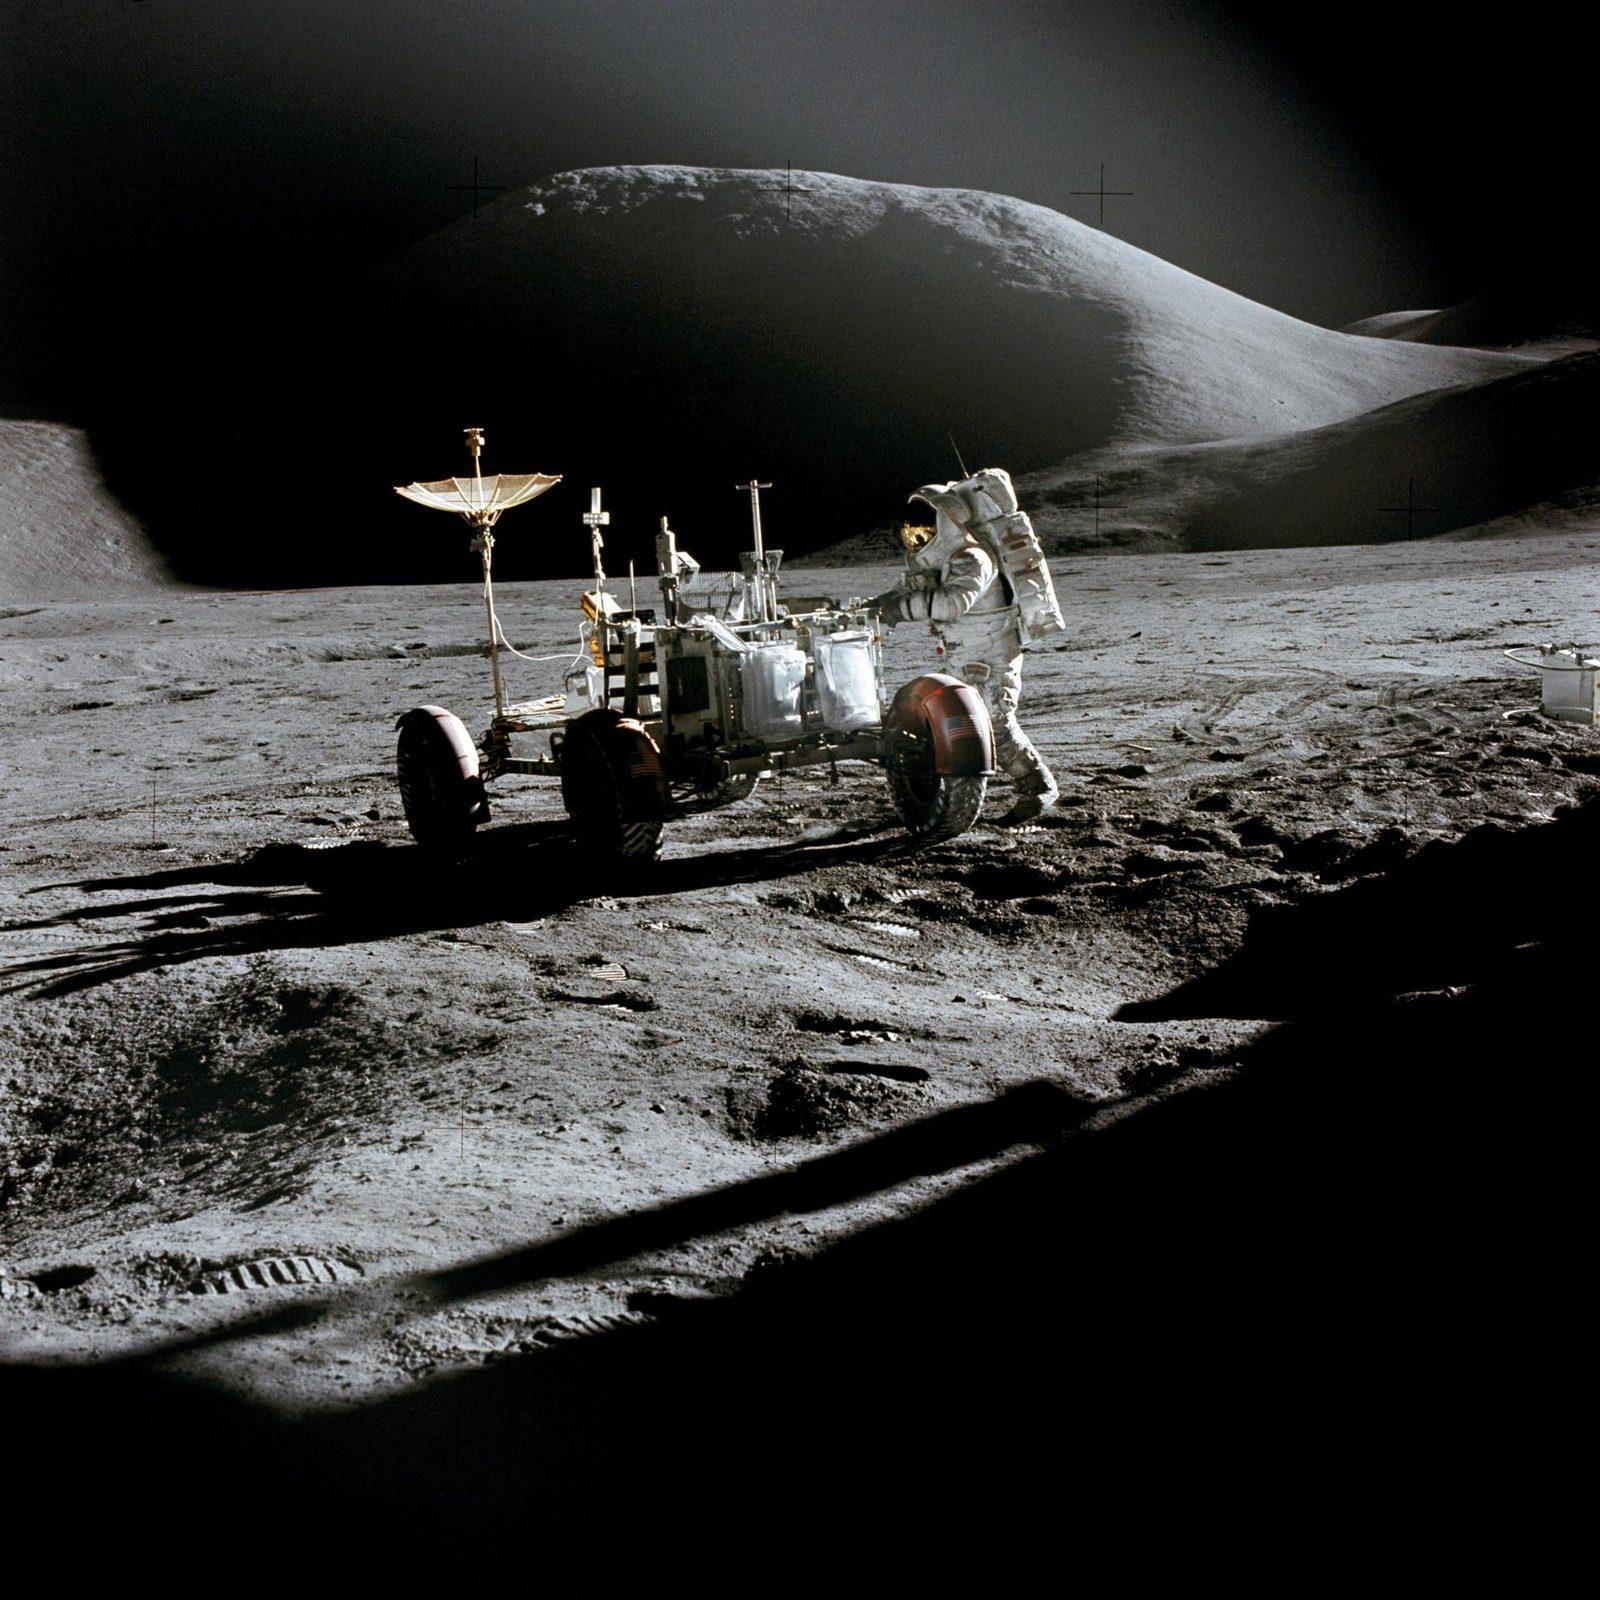
02No collection photograph or field description documented the stop. Curators initially could not identify when or where the sample had been collected. Scott's later explanation connected the rock with the seatbelt stop.
AS15-86-11603 (31 July 1971) --- Astronaut James B.
Apollo 15 RoverThe small holes in the rock held a much older story.
NASA/JSC
03Sample 15016 became known as Seatbelt Rock. NASA classifies it as low-titanium olivine basalt. Numerous cavities, called vesicles, preserve evidence of gas bubbles in magma as the rock formed.
What could one extra rock help people learn about the Moon?
04NASA's later sample studies report an age of 3.4 billion years. Its sample page now offers photographs, a three-dimensional model and X-ray CT views. These later research resources explain the sample's scientific value; they are not observations the rover made during the drive.

The big idea

A sample can preserve a geological history, but its collection context is evidence too. A memorable story must not fill gaps in that record with invented coordinates.

Think about it

Why should a rock collector record where a sample was found, not just bring it home?

Fact file

Sample
15016,0 · Seatbelt Rock
NASA curator account; precise collection documentation was missing.
Source ↗

In this chapter: Crew seatbelt, sample collection equipment and later rock-analysis tools

Sources: Main record · 50 Years Ago: Apollo 15 on the Moon at Hadley-Apennine · NASA

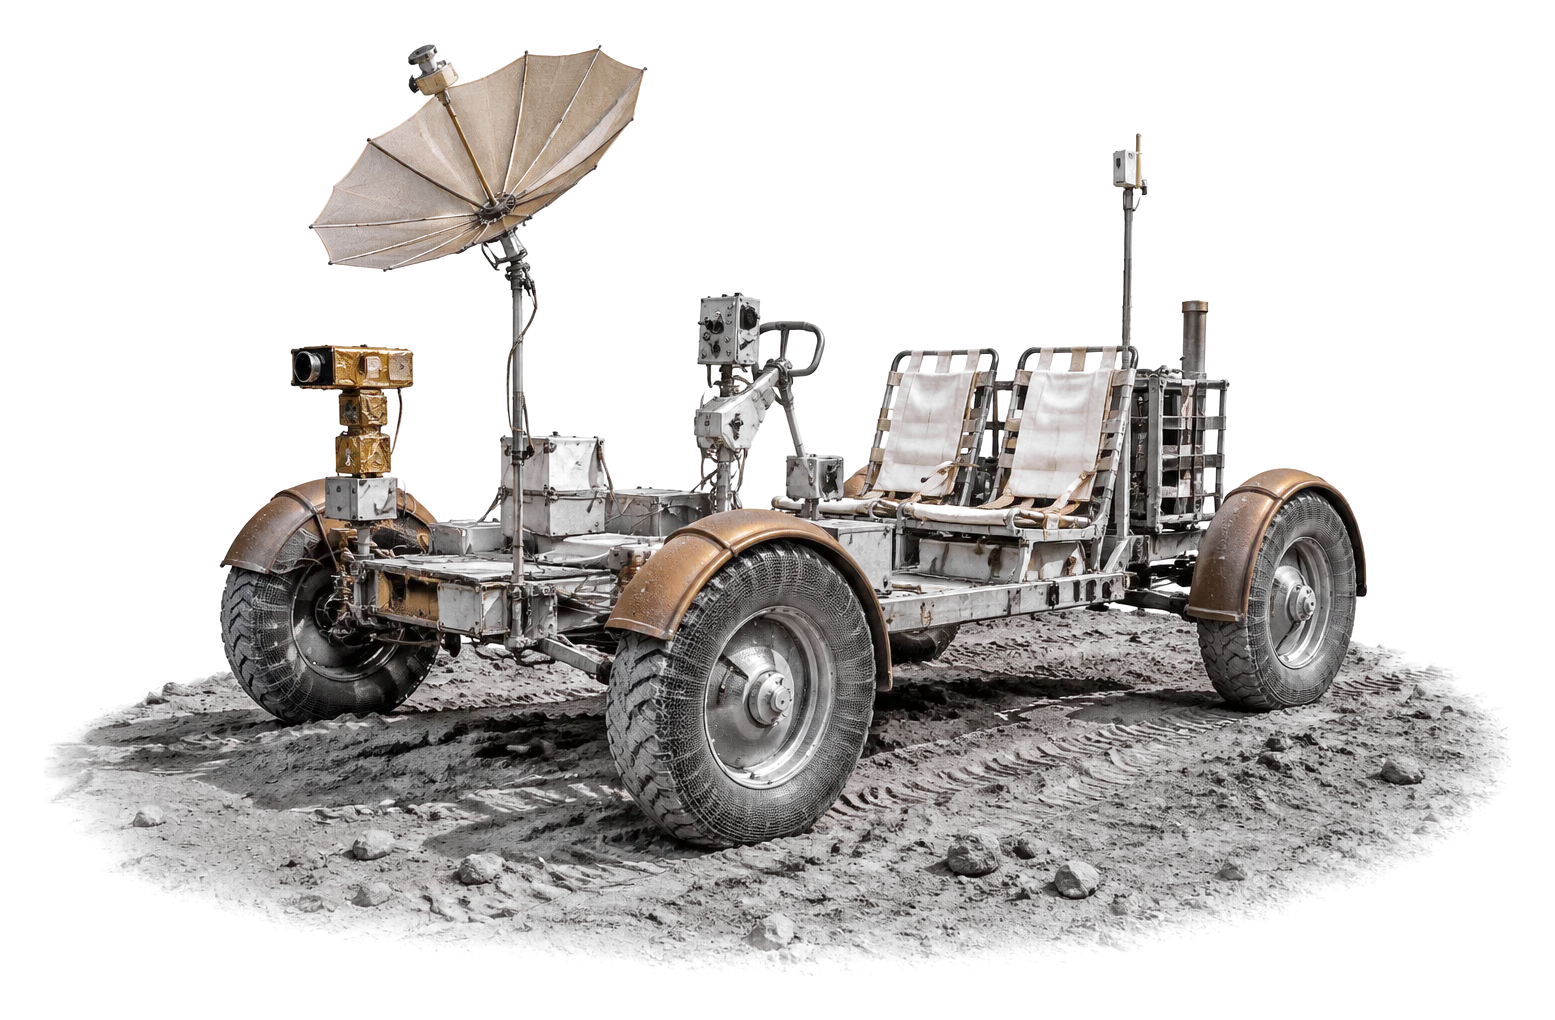
Machine illustration: AI-made. Photos: NASA Image and Video Library, credited on each picture.

Chapter 4 of 8

Next