Chapter 5 of 8

Uphill to a white rock

Restored front steering and the second traverse on 1 August 1971

Told in Apollo 15 Rover’s imagined voice · the events are real · source
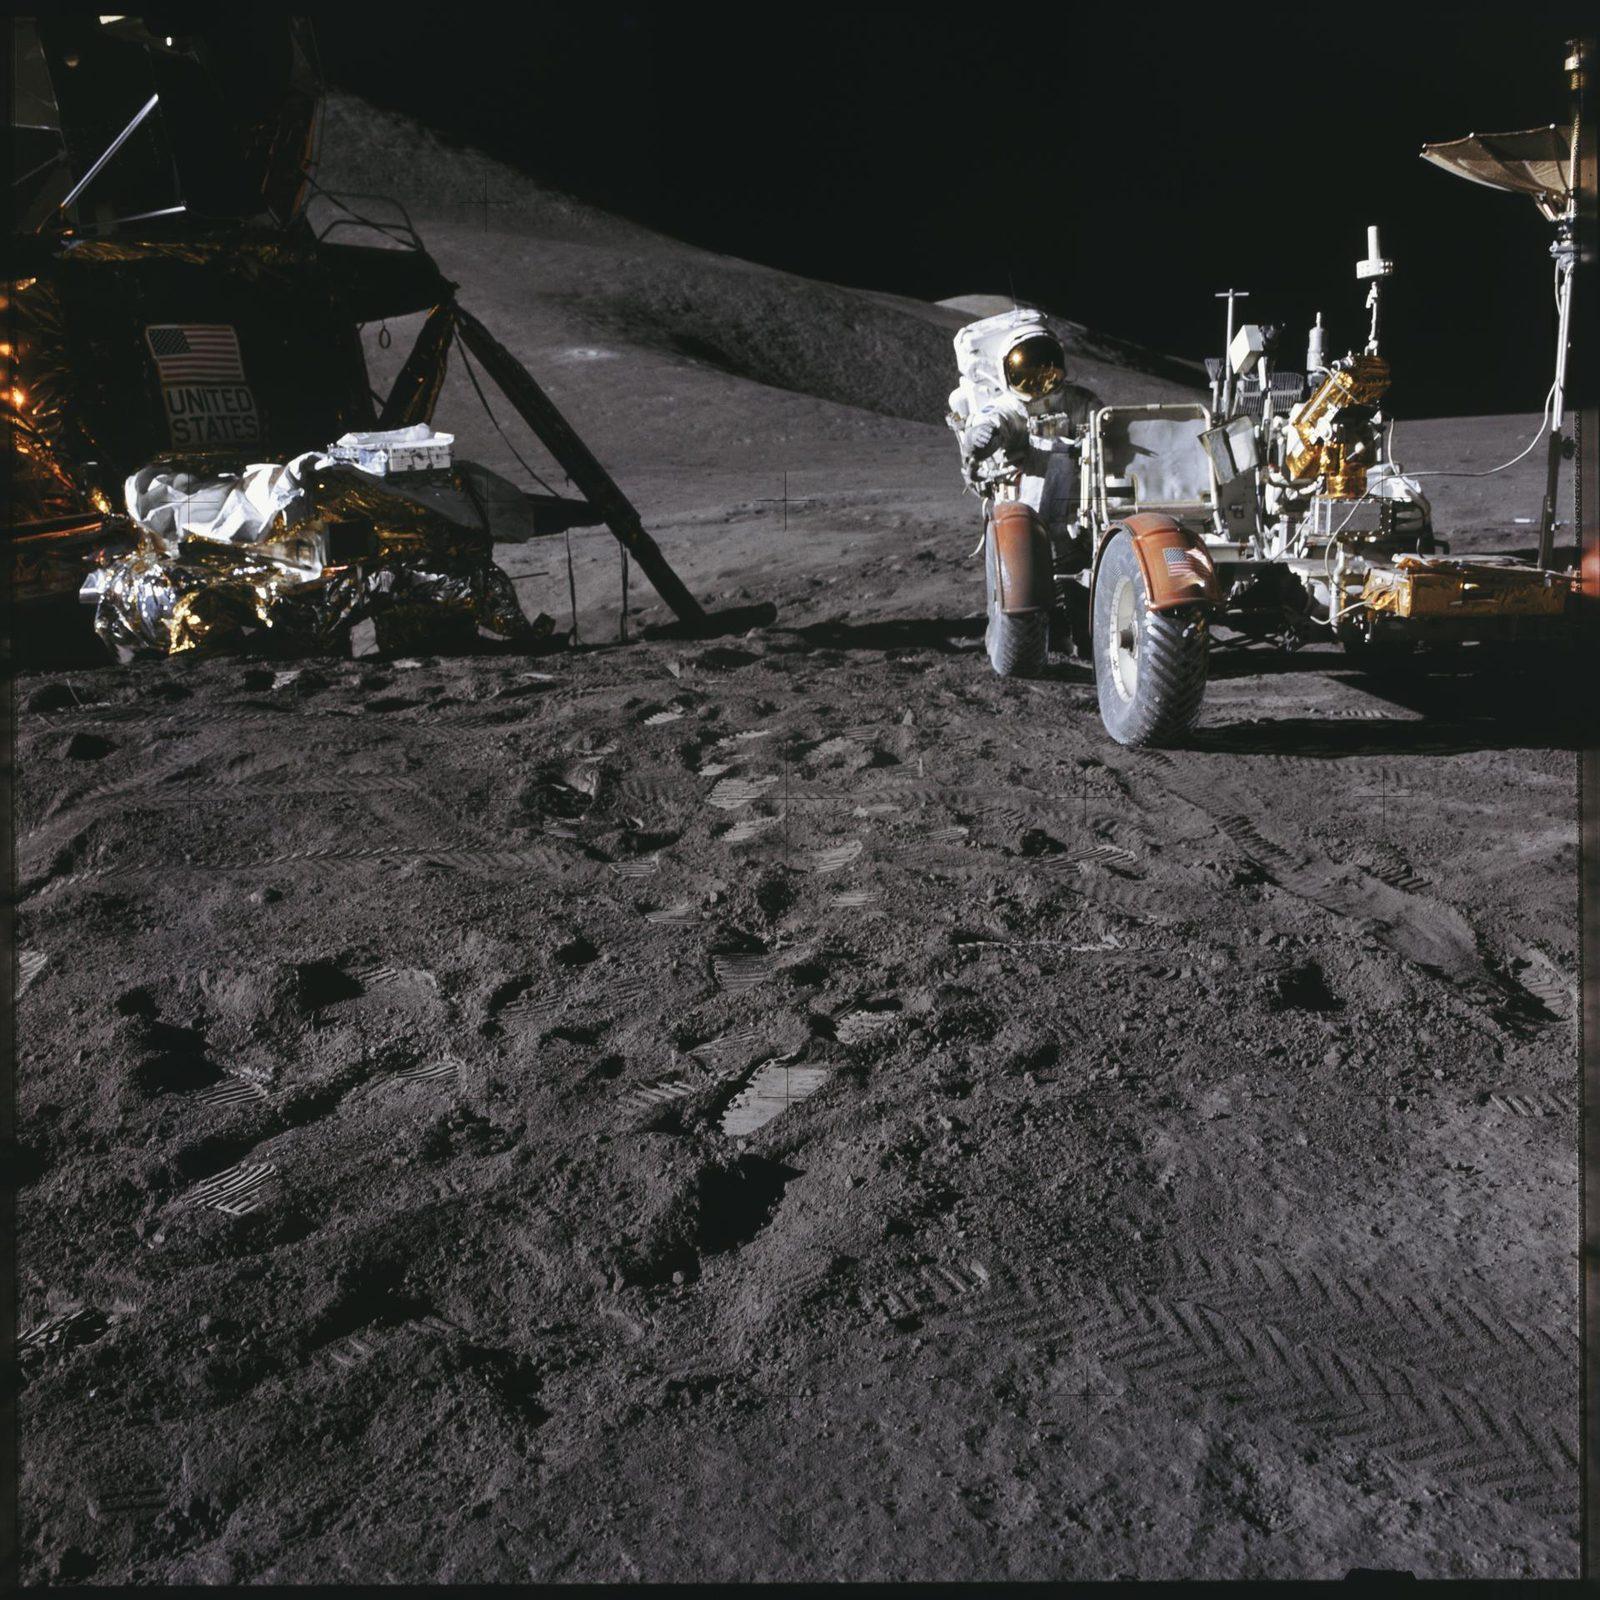
AS15-86-11601 (31 July 1971) --- Astronaut James B.
Apollo 15 RoverOn August 1, my front steering worked again.
NASA/JSC
01Before the second excursion, the astronauts recycled the circuit breakers. NASA's mission summary records that the front steering became completely operational. That documents the recovery; it does not establish an invented failure cause.
A slope changed the work from driving to holding still.
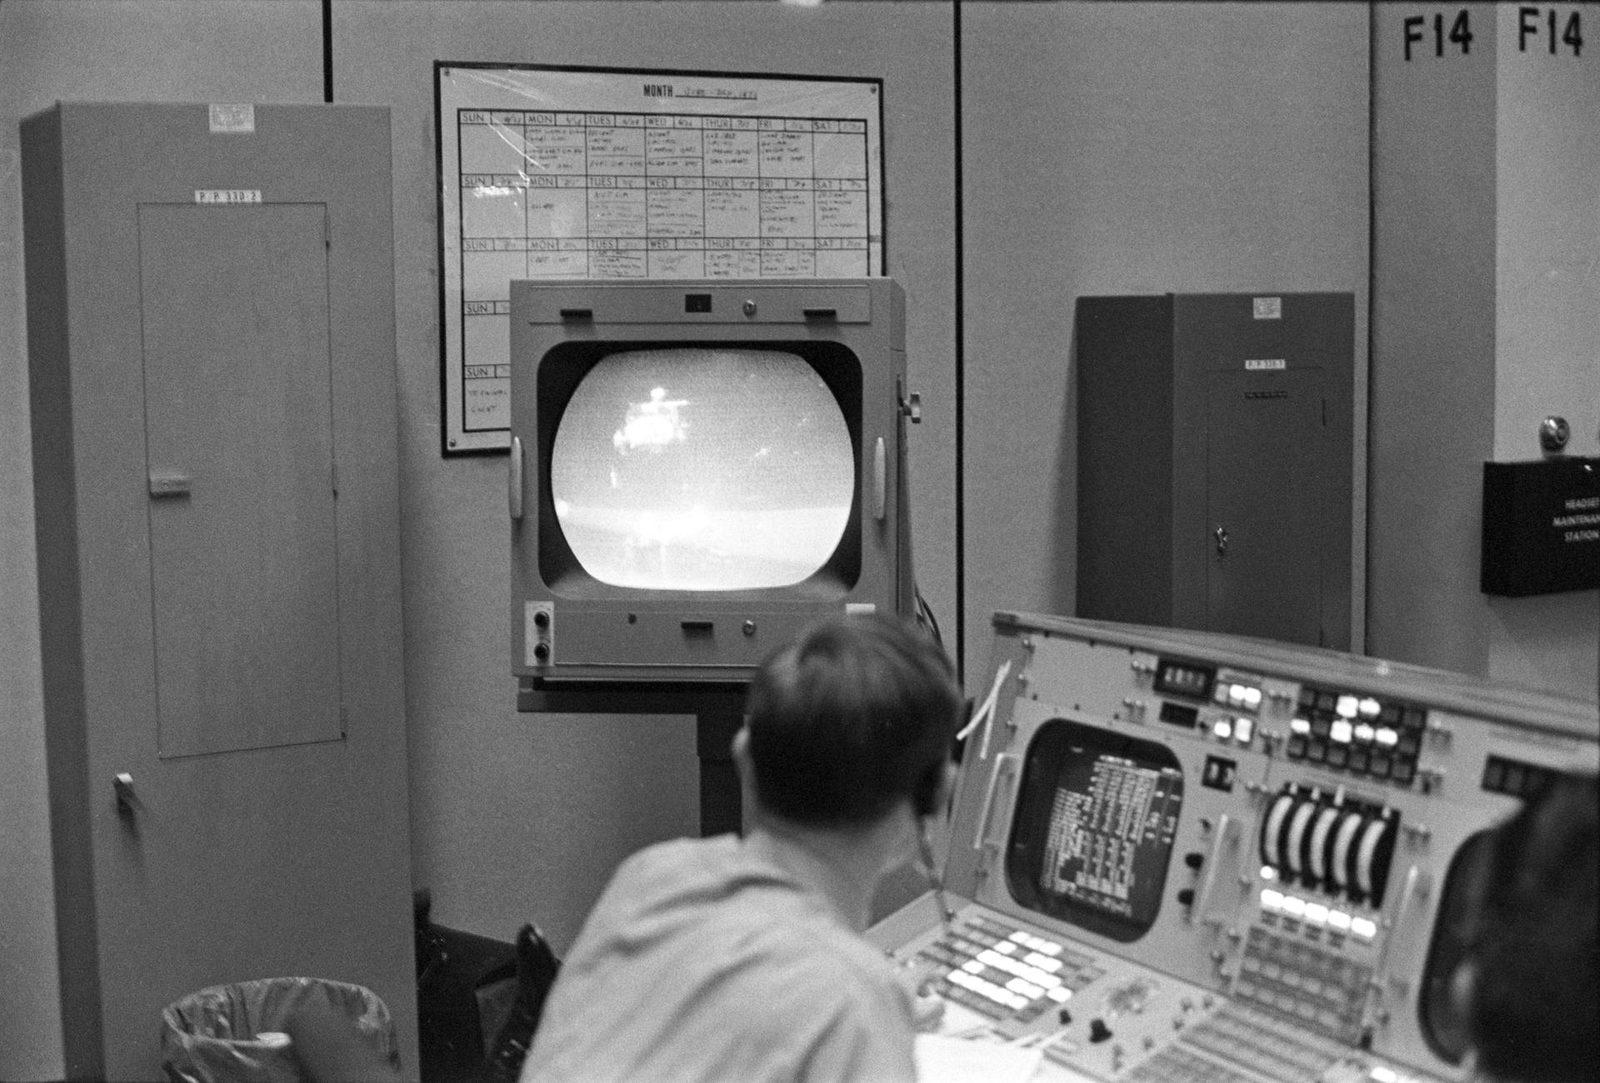
02At Station 6a, Scott sampled a greenish boulder while Irwin held the rover steady. NASA describes a 15-degree slope at this particular stop. The vehicle's position mattered while the astronaut worked beside it.
View of a photograph of the television (TV) monitor in the MCC showing a picture being transmitted from the color TV camera mounted on the parked Lunar Roving Vehicle (LRV) at the Hadley-Apennine Landing Site showing the
Apollo 15 RoverAt Spur Crater, a white crystalline rock caught the crew's attention.
NASA/JSC
03Among their samples, Scott and Irwin collected the rock later dubbed the Genesis Rock. Their geology training, observations and collection work made the discovery possible. The rover delivered the team to the site; it did not identify the rock for them.
My cargo was becoming a set of questions for scientists on Earth.
04The crew packed the samples and headed back toward Falcon, stopping for more geology along the way. Photographs, sample labels and the rocks themselves would let researchers examine the observations after the journey ended.

The big idea

Mobility extends the places a trained scientist can investigate. Vehicle handling, observations and sample context all contribute to the science.

Think about it

What does the rover make possible that a photograph of the same hillside cannot?

In this chapter: Circuit breakers, steering systems, brakes, sample bags and camera antenna

Sources: Main record · Apollo by the Numbers · Apollo 15 summary · NASA SP-4029

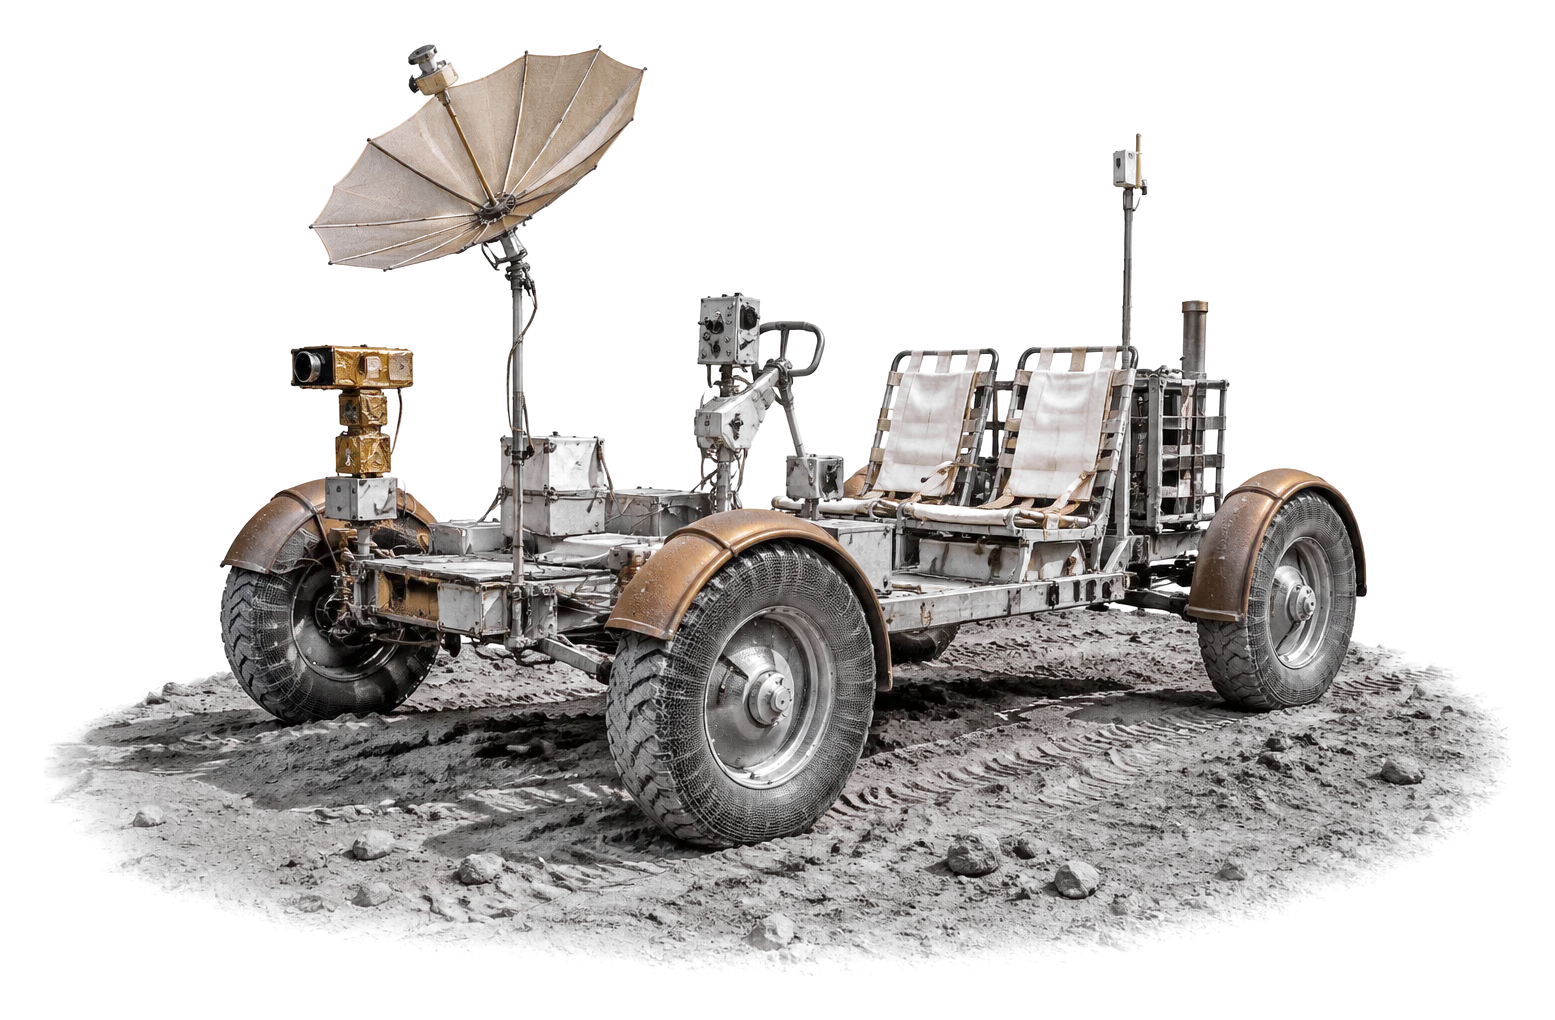
Machine illustration: AI-made. Photos: NASA Image and Video Library, credited on each picture.

Chapter 5 of 8

Next